Images are important for all websites. They provide visual appeal and help visitors see more accurately what you are selling or the services you are promoting. The downside to images is they take up vital storage space and can cause your website to load slowly. Slow websites create a poor user experience, meaning potential customers may move onto another site for the product or service.
The larger the image, the slower the page will load. Large images not only affect the individual page they are on, but, depending on their size, can affect the entire site. Slow websites can lose visitors and be negatively affected in rankings, since Google considers site speed as a ranking factor.
The good news is you can share images on your website and still have it load properly while not hurting your site’s search ranking. The key is image size. All images should be correctly sized and optimized for the web.
If you upload images to your website, whether it’s to an online gallery or to update products, we want to share some important information and ways to reduce the file size of those images, so your website will still function as it should.
Our hosting solutions have an upload size limit set in order to prevent loading failure and increased page load speed due to running out of resources from loading large, unoptimized images. We recommend image sizes between 30KB and 100KB. The smaller the file size of the image, the better, if it doesn’t affect the quality.
Two things affect the size of an image. The first is the dimensions, meaning the height and width in pixels. The second factor is file size, or the amount of memory the image takes, for example 75KB. Typically, a smaller dimensioned image will go hand in hand with a smaller file size in memory.
Not sure how to tell the size of an image? Simply right-click the image and go to Properties. There it will tell you the memory size and file type. For the size in dimensions, you can click on the Details tab. There it will provide the dimensions of the image in pixels.

Steps to minimize image file size:
- Resize the image
Keep the image dimensions below 1600 pixels in width or height. Anything larger than this will most likely exceed the upload limit. You can resize images in Photoshop or other photo editing software. Try right-clicking on the image and going to Edit. - Use appropriate file extension
The smallest footprint in terms of file extension is the new .WEBP extension. It is lightweight and will load the fastest while maintaining the highest quality for larger images that need to scale with your page. If you need an image with a transparent background your in luck, the .WEBP extension works here as well. If your image is a .PNG or .JPG it’s suggested to convert them to .WEBP for the best web performance. - Compress the image
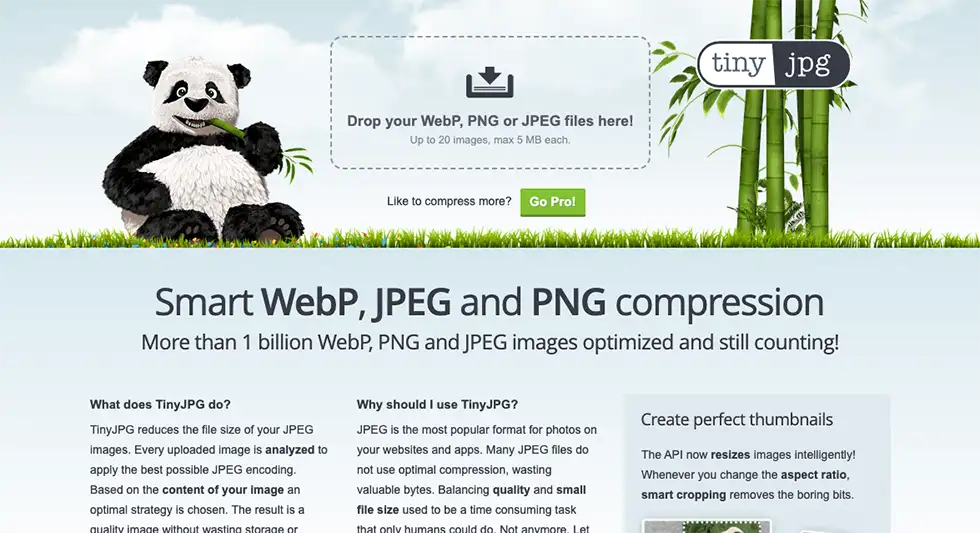
There are several options for compressing images. You can compress the image in Photoshop by using the “Save for Web” function. If you don’t have Photoshop, there are many online resources as well. One we often use is TinyPNG or TinyJPG. This is free to use and simple. You just drag and drop the images you want to compress then download the newly compressed version to use for your website.
Following these steps every time you upload an image to your website will help it load much faster! If you still have questions about optimizing images for your website, feel free to give us a call at 717-589-7812 or contact us.


